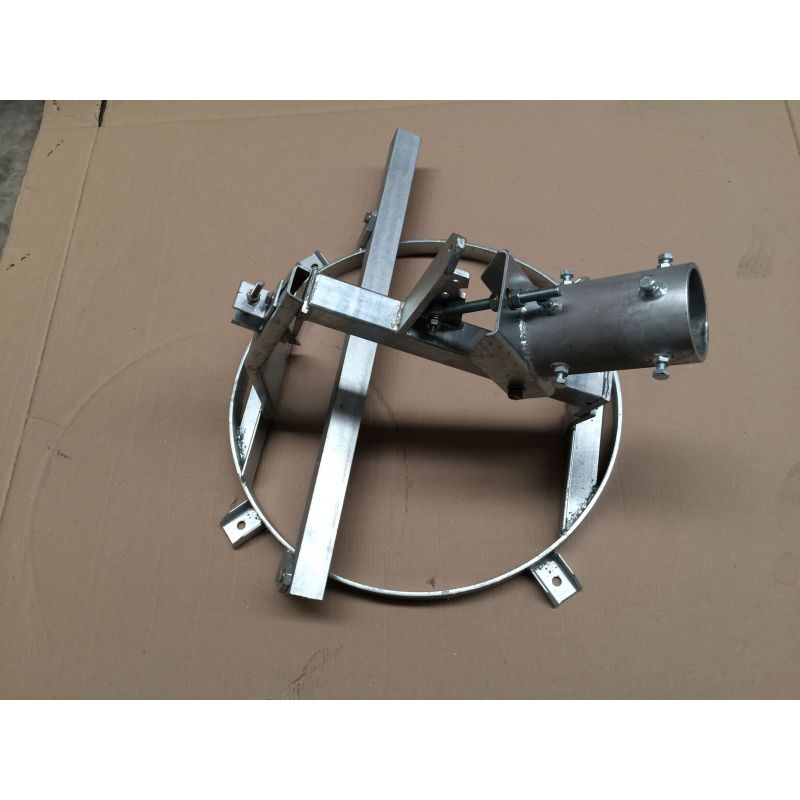
Looking at fig. 3.3 on page 12 from that manual, as shown in your picture, I wonder what the second and third picture are used for?
A vertical measurement on the dish face, with the (offset!) dish in a rotated position?
I cannot think of a sensible use for that.
So, can you tell me how the procedure for fig 3.3 is described?
I do have a few Channel Master manuals on my hard disc, but none have the same picture, alas.
Greetz,
A33
Cutting to the chase. Only the first illustration on 3.3 should be your main focus when setting up the dish.
Being also an astronomy buff with a telescope equipped with a polar mount. We need to make some hard comparisons.
The polar axis of both telescope and "modified German polar mount" of the satellite polar mount need to be setup to aimed at
true North.
Not magnetic North as a compass would show. And for every location on the planet, there are updated tables that show the compensations needed. Aircraft uses it, surveyors do it too. Although with GPS it has become a no-brainer. But still, using a magnetic compass, displayed North is not true North.
Check?
So the elevation angle of both types of mounts must be adjusted to the true North angle. Imagine a spike stabbed through the earth that passes exactly through the
true North and South poles. Imagine your particular location. You see from a chart, Google Earth. Whatever. Your latitude is X degrees. Standing at the North pole looking straight up in the sky along the spike that was stabbed in.
You
will see the North Star. Well. with your dish mount perfectly set for the elevation angle. Or the telescope mount. Your next task will be to swing the entire mount on the pole to point at true North.
Your elevation, polar angle will match the same angle of the spike. Parallel. But.....
Swinging the mount on the pole left or right will be done to point the pivots and elevation arm exactly the same as the telescope mount.
At night with a spotting scope mounted on your dish elevation arm. Exactly in line with the pivots by every possible means.
Wa-La! Look through the scope and there's the North Star. That's the concept. You do it once. An astronomer with a portable polar mount does it every single night of star gazing.
Check?
Now. To aim the dish on the pole so that the mount (and dish at zenith.....the highest point it can be pointed in the sky). Get it in the neighborhood.
A prime focus dish has it's own dish face at 0 declination. As would an offset dish like the Raven/ChannelMaster variants shown here.
But a prime focus dish face set at 0 declination would be parallel to the elevation angle as looked at from the side.
The specs for the offset dishes shown here show a
look angle of 22.5-22.6 degrees. You could still set the dish face measured vertically across the the face to be parallel with the elevation pivots. But it's not usually done.
Laying a straight edge horizontally across the face of the dish and fastened so that it stays put. And the angle measurement device Du-jour laid on top of it. You turn the dish on the pivots (not the pole) until it reaches the highest in the sky it can possibly go. Use ratchet straps, the motorized actuator. The dish will be at zenith. At that point use whatever method you can to move the entire mount on the pole so that the dish is aimed at true South. Dish Pointer, a smart phone AI app. Use landmarks shown in the display. When set. Bolt the mount to the pole.
A very good time now is to make a Sharpie mark on the mount and pole for tweaks needed later on.
Check
Illustration 3.3 is if the dish were set at zentih. Other's there. you really should think of as goose-down fuzzy-stuff that has you wondering and thinking too much.
It was mentioned the look angle of these dishes versus a prime focus dish. Prime focus zero declination angle equals the elevation, polar angle at zentith.
Offset dishes here start out zero declination angle (mechanically) plus the 22.6 degree look angle engineered into them.
The adjustment bolt for declination adjustment for a factory mount states something like precise. Take that with two grains of salt. Close? Sure.
But after everything mount related is setup. There will be many tweaks needed to get the mount tracking.
A fabricated mount will probably have no degree markings stamped in or marked adjustment bolts.
As a fortification. No lathe, mill in the past 20+ years has a machinist using the vernier dials. Instead there are DRO units that carry out measurements and settings to four and more decimal places. Relatively cheap and highly accurate and repeatable.
If you have an inclinometer in the drawer. Fine. If you don't have and need a precision device to assist. Go digital as is shown above.
I forgot to shut mine off and it went to sleep. Another older one w/o sleep was in its pouch for a week and the display was still on.
Even Fred Flintstone got tired of winding his Timex and got a Swatch. And it had a 3 year old battery in it, accurate to one second per day.
Check-a-mundo.
I'm in the USA. I enjoy the hobby and helping others pull their dishes out of mothballs in the weather for many years.
My main receptions are C Band. And many, I am in the fringe of transponder coverage. I forget that ku band has a bit of wiggle room as far as signal strength is concerned. But. With C Band and the difference in dish mover "counts" being as little as 6 either way from max. signal to loss of lock, pixels. Ku Band can be up to 20 from target. And I never realized the reason for "ignoring adjacent satellites up to X degrees" setting in the scan menu. So I guess being a bit sloppy in Ku dish setup is okay. But it's 2025. Get a digital angle gauge. For God sakes! Or have a yabba-dabba-do time!!!
Need illustrations? I have a ton. Ax me.